Teach Me Mommy

Playful and easy activities with the aim to teach

  • Kids Activities
    • Teach my Baby
    • Teach my Toddler
    • Teach my Preschooler
    • Teach me Fine Motor Skills
    • Teach me Literacy/Numeracy
    • Teach me Rhymes
    • Teach me Sensory
    • Teach me Science
  • Holidays
    • Valentine’s Day
    • Easter
    • Christmas
    • Birthdays
  • Gifts
  • DIY
    • Busy Bags
    • Keepsakes
    • Toys
  • Recipes
    • Food Recipes
      • South African Recipes
    • Play Recipes
  • SHOP

Perfect Circle Paper Plate Method

November 10, 2013 by Nadia van Zyl Leave a Comment

We are a participant in the Amazon Services LLC Associates Program, an affiliate advertising program designed to provide a means for us to earn fees by linking to Amazon.com and affiliated sites.

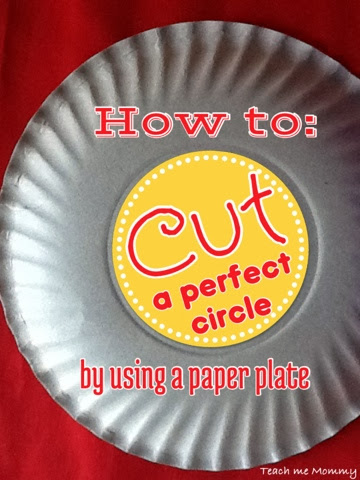
Cutting a perfect circle can be a challenge but this paper plate method can help!

perfect circle paper plate method


Now for some, this will look ridiculously simple, but I know the not-so-creative mommies will be thankful for this tip, so bear with me!
 
This technique works when you want to cut stickers, fabric, or a circle out of something that is bendable and doesn’t retain the creases when folding in step 2.
 

What you need:

 
– The material you want to cut
– A paper plate
– Scissors
– Pencil
 

Directions: 

 
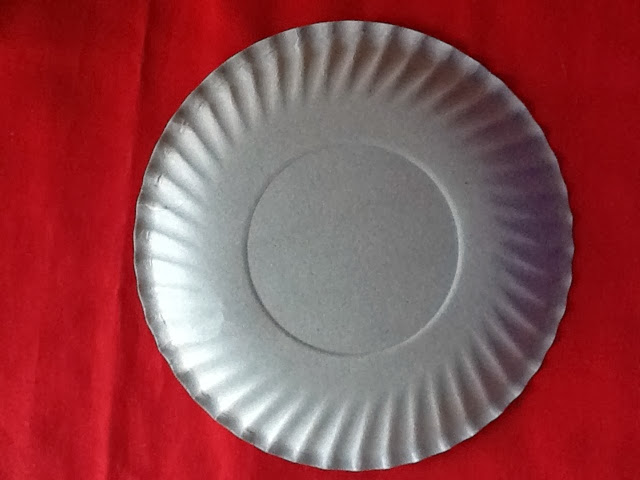
Step 1- Decide on the size circle you want, and use the size paper plate that is closest to the desired size, rather bigger than smaller, then use step 7 to go smaller.
 
 
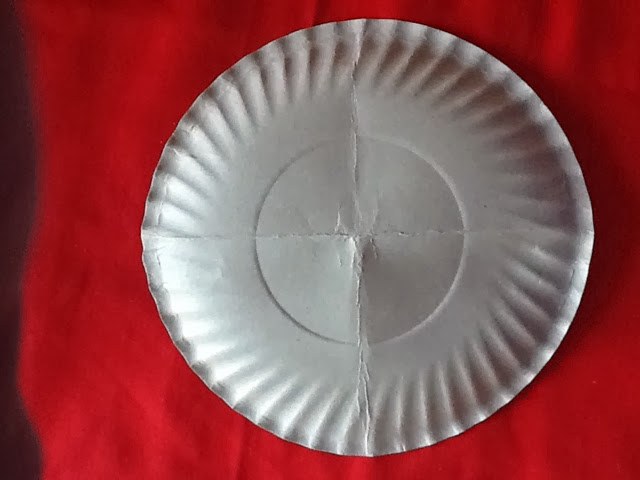
Step 2- Fold the plate in quarters. Try to make the lines defined, or use a pencil and ruler to make it more clear if you want.
 
 
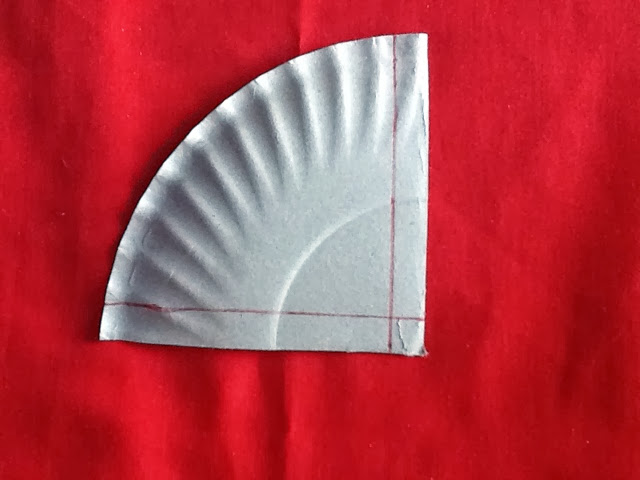
Step 3- Cut one quarter off.
 
 
Step 4- Fold your material twice, so there are 4 layers. Keep folded. Then place your paper plate quarter you just cut, on the corner of the CLOSED crease.


Step 5- Draw with a pencil that arch. If you are more confident you can simply cut the material by holding the paper plate quarter in place.
 
 
Step 6- Open up, voila!
 
 
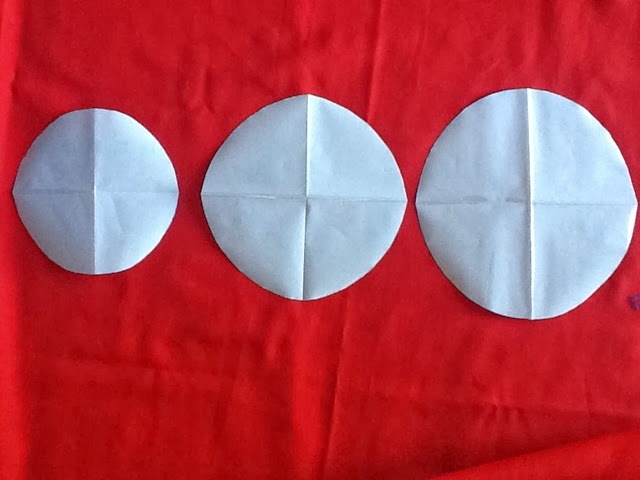
Step 7(optional)- You can now make other circles go smaller and smaller by doing this:
 
Marking, for example, 1 cm off at both side, and cutting on the lines. I did it twice to get these:
 
 
Very easy when you’ve done it once! Try making a perfect circle using our paper plate method.


Related Posts

  • DIY Kids Easter Basket

    Make a kids Easter basket or two reusing a small…

  • Easy Crafts for Preschoolers

    Crafting with preschoolers can be fun, but it can be…

Feel free to share!

45 shares
  • Share
  • Tweet

Filed Under: Kids Activities & Crafts Tagged With: circle, cut, How to, Paper plate

« Simple Science: Magnifying Glass Discoveries
Painting with Make up Brushes »

Leave a Reply Cancel reply

Your email address will not be published. Required fields are marked *

Welcome!

Hi! I'm Nadia! A teacher and a mommy of two, who loves to be creative and share easy activities you can do at home with your kids too! Read More…

Visit our TpT Store

TpT store logo

Connect with us!

Social_Media_Icons_CtrlAltDesign_V2-04  Social_Media_Icons_CtrlAltDesign_V2-27Social_Media_Icons_CtrlAltDesign_V2-19  Social_Media_Icons_CtrlAltDesign_V2_PinterestSocial_Media_Icons_CtrlAltDesign_V2-29

Categories

More

  • About us/Contact
    • Contact
  • Disclosure & Privacy Policy
  • Freebies
  • SHOP
  • Sign-up to our Newsletter
  • Thanks

Freebies Sign-Up

Copyright © 2023 · Delightful theme by Restored 316